HIGH STRENGTH EPOXY FOR CONCRETE MOUNTING SYSTEM
X500SD 400ML 3:1
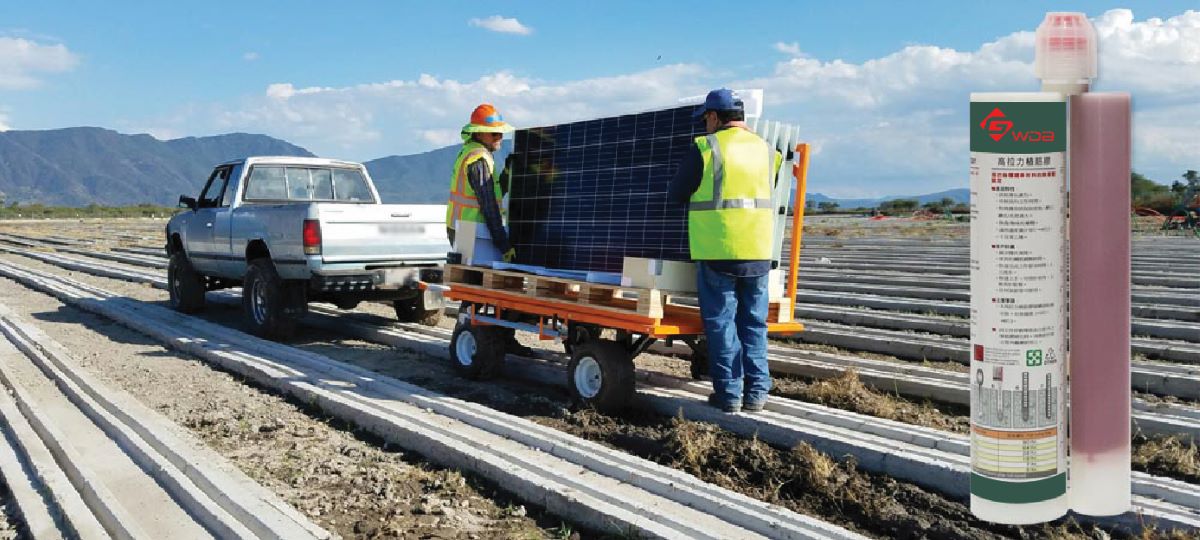
Epoxy Anchor Mortar For Solar Panel Fixing
High strength epoxy anchoring for aluminum solar panel concrete mounting system. Top-quality epoxy can sustain under high heat and heavy loading.
Ultimate performance for rebar connections, heavy anchoring on dry concrete, wet concrete, cracked and uncracked concrete. Advanced-formula pure epoxy adhesive is workable at wide temperature and crucial anchoring. Quality tested and approved by Germany lab. Non-sag allows for overhead and suspended ceiling application. There is also 585ml available in the range.
Chemical fixing system – Ultimate performance pure epoxy chemical anchor
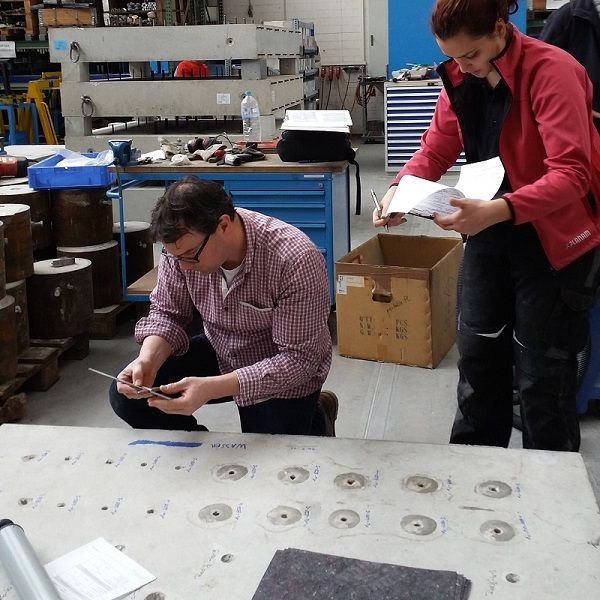
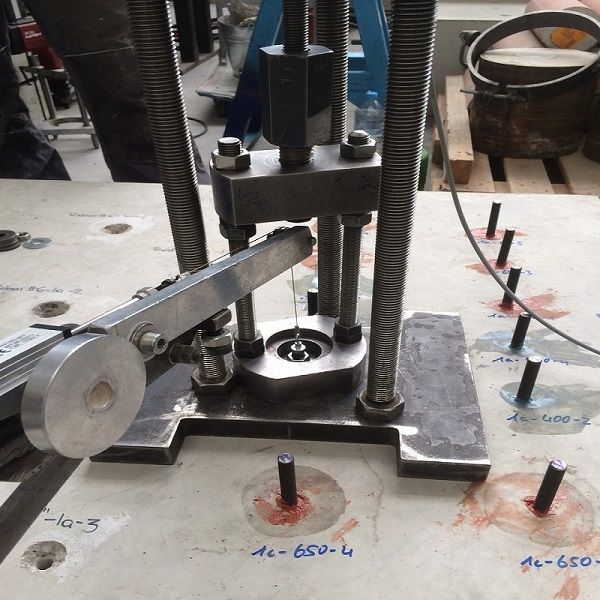
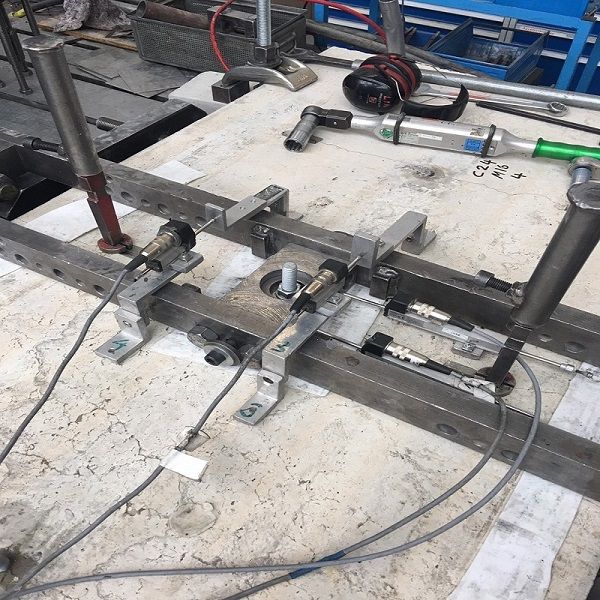
High-end epoxy mortar for heavy anchoring and critical conditions. In variation case of anchoring work which required higher performance to satisfy and secure the anchoring in dry, wet, uncracked, cracked concrete even in seismic conditions or temperature variation and installation limitation. We tested diverse anchoring condition in ETAG approval lab and with report to compare. Epoxy injectable adhesive anchor is strongest one of bonding fasteners which is growing demands.
Specification
- Material: Pure Epoxy
- Model Number: X500SD
- Size: 400ml
- Shelf Life: 18 months
- Mixing Ratio: 3:1
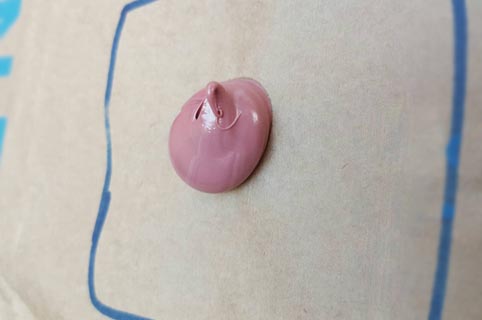
- Mixing Color: Orange
- Standard Package: One cartridge with one mixer
- Other Accessory: Mixer, caulking gun, nylon sleeve, air pump, brush
Features & Benefits
- Heavy duty load.
- Non-sag for overhead and wall application.
- Good performance on wet holes and cracked concrete.
- Ideal for deep embedment and large holes.
- Longer working time.
- No shrinkage.
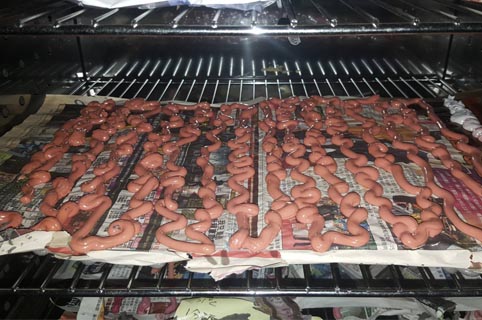
- Orange color for easy monitored.
- Styrene free and low odor. LEED tested for VOC (Volatile Organic Compounds).
- No health and safety concern to slow down your work.
- ETA in process.
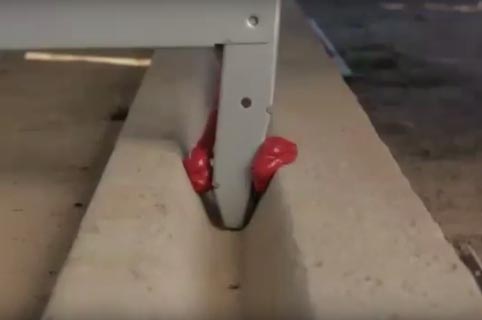
Epoxy chemical anchor for solar panel fixing
There are many innovative ways of solar panel design and installation. This is special case and request in USA for bonding aluminum frame on concrete track rail. Non-standard anchoring that sustained bonding under high heat and windy are required. We look for more possibility and challenge of chemical anchor.

Strongest epoxy anchoring for all fixing solution
Non-drip formula, ideal for overhead installation and suspension anchorage. Versatile and multi-purpose pure epoxy is longer curing time and more flexible on applications. As global warming, climate suitability and wide temperature applicability are important for chemical anchor development. We equip temperature facilities to simulate different anchoring temperature worldwide and do multiple testing to ensure the quality. The steady characteristic of epoxy is most used in tropical zone.
Technical Data
CHART 1. SOLID SUBSTRATE REBAR INSTALLATION DETAILS
| Pressure | Destroy Haul Strength (Kgf/KN) | Safety Haul Strength (Kgf/KN) | Working Standard (mm) | ||||||
| Concrete Strength | 4,000 psi | 280 kg/cm2 | 4,000 psi | 280 kg/cm2 | Hole Diameter | Hole Depth | |||
| Rebar No. | #3 | (Φ10) | 3,622 | 36.6 | 1,207 | 12.2 | 13 | 90 | |
| #4 | (Φ12) | 6,437 | 65.0 | 2,146 | 21.7 | 16 | 125 | ||
| #5 | (Φ16) | 9,737 | 98.4 | 3,246 | 32.8 | 20 | 145 | ||
| #6 | (Φ20) | 13,715 | 138.5 | 4,572 | 46.2 | 25 | 170 | ||
| #7 | (Φ22) | 18,754 | 189.4 | 6,215 | 63.1 | 28 | 200 | ||
| #8 | (Φ25) | 24,137 | 243.8 | 8,046 | 81.3 | 32 | 225 | ||
| #9 | (Φ28) | 27,484 | 277.6 | 9,161 | 92.5 | 37 | 260 | ||
| #10 | (Φ32) | 31,869 | 321.9 | 10,623 | 107.3 | 40 | 290 | ||
| #11 | (Φ36) | 36,000 | 363.6 | 12,000 | 121.2 | 42 | 320 | ||
| Remarks: | 1. Concrete Strength fc’: 280kg/cm2 (4,000 psi) 2. Rebar Strength: #3~#5 fy: 2,800 kgf/cm2, #6~#11 fy= 4,200 kgf/cm2 |
||||||||
CHART 2. CURING TIME TABLE
| Temperature (°C) | Gelling | Full Curing |
| 5~9 | 2 hr. | 90 hr. |
| 10~14 | 90 min. | 64 hr. |
| 15~19 | 45 min. | 28 hr. |
| 20~29 | 30 min. | 18 hr. |
| 30~39 | 20 min. | 7 hr. |
| 40 | 12 min. | 5 hr. |
| Please make pull out test over 24 hours after full cured. | ||
CHART 3. FIXING CONSUMPTION PER CARTRIDGE
| Anchor Size | Hole Diameter (mm) |
Hole Depth (mm) |
Number of Fixings |
| 400ml | |||
| M8 | 10 | 80 | 80 |
| M10 | 13 | 90 | 42 |
| M12 | 16 | 120 | 21 |
| M16 | 20 | 145 | 11 |
| M20 | 25 | 170 | 6 |
| M24 | 28 | 210 | 4 |
| M30 | 35 | 270 | 2 |
| M36 | 40 | 330 | 1 |
| Note: Based on continuous installation without interruptions or nozzle changes. Provided as a guide and will vary with temperature. | |||
How to use a caulking gun?
1. There is a small trigger on the back of the caulking gun. Press the release trigger with your thumb. This will loosen the long steel rod that runs through the entirety of the frame. 2. Pull the plunger all the way back. 3. Remove the white cap and plug of tube and then screw the mixer nozzle on to the tube. Insert the flat end of the tube into the back of the gun first and put the tube with the mixer nozzle in the front. Pull the handle trigger to move the plungers of caulking gun. Make sure that the plungers of caulking gun are in the center of tube pistons. It is very important to put the tube in the correct position.